
Once you’ve found a provider that feels right, you can book a session directly from their profile.
Here’s how to view provider details, choose a time, and confirm your appointment step-by-step.
Step 1. Open a Provider’s Profile
From the Providers list, tap a provider card (for example, Larry Michaels, Licensed Clinical Social Worker).
This will take you to their Profile Details page, where you can learn more about them.
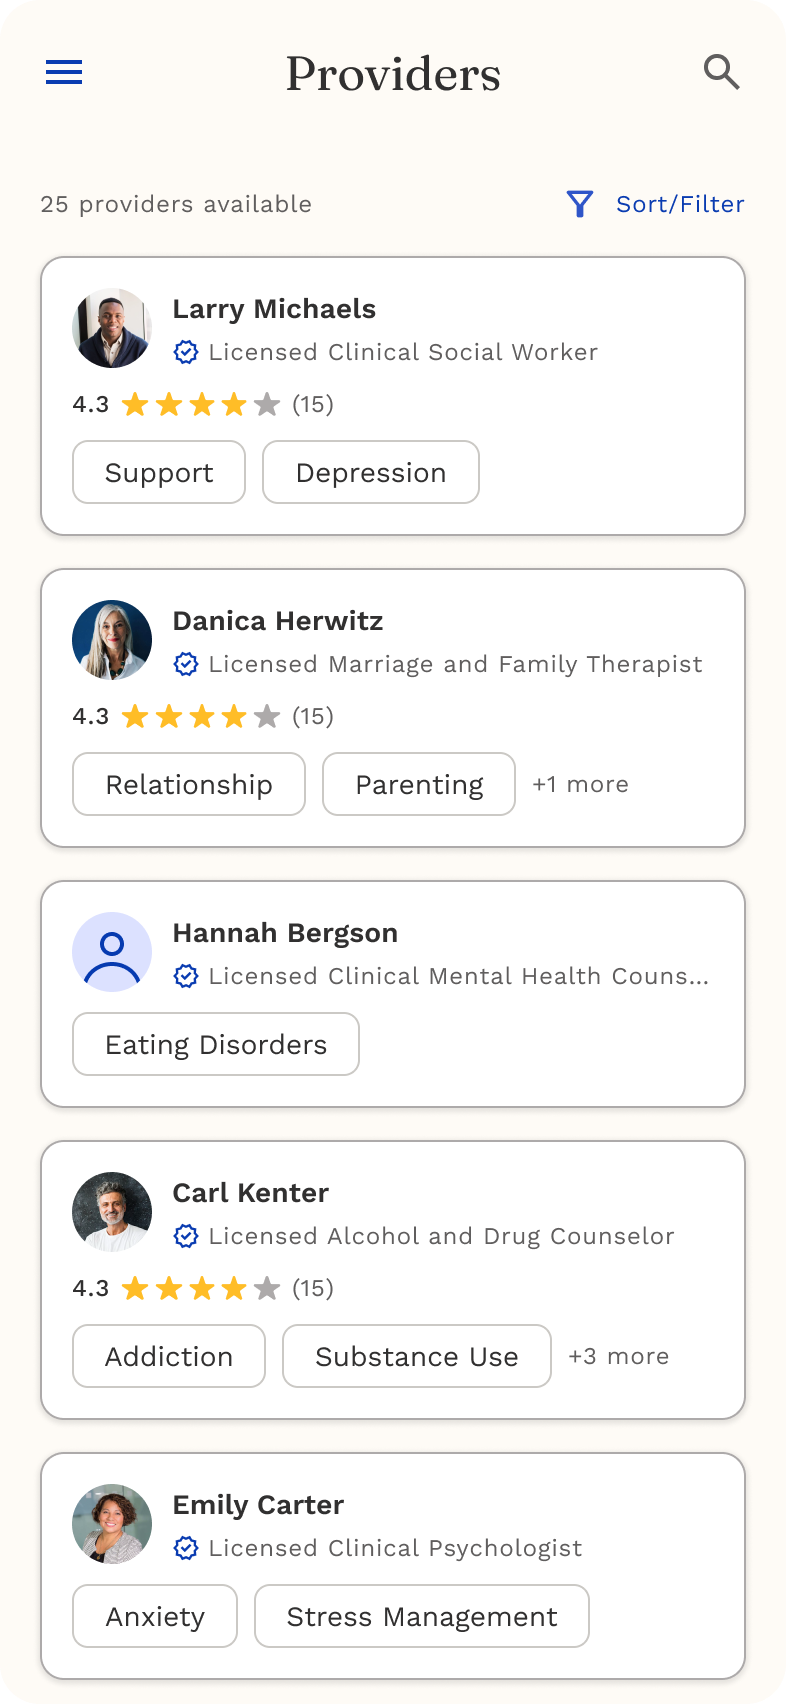
What You’ll See:
- Photo and credentials – their name, title, and license type
- Rating and reviews – average star rating and real feedback from clients
- About section – a short bio describing their experience and approach
- Specialties – areas they focus on (e.g., OCD, ADHD, Anxiety)
- Licensed in – which states they’re authorized to provide care
- Education – their academic background
- Available groups – group sessions you can join (e.g., Coping with OCD, Living with Depression)
At the bottom, you’ll also see Other Providers—suggested professionals you can explore if you want more options.
When you’re ready to book, tap Book Now at the bottom of the screen.

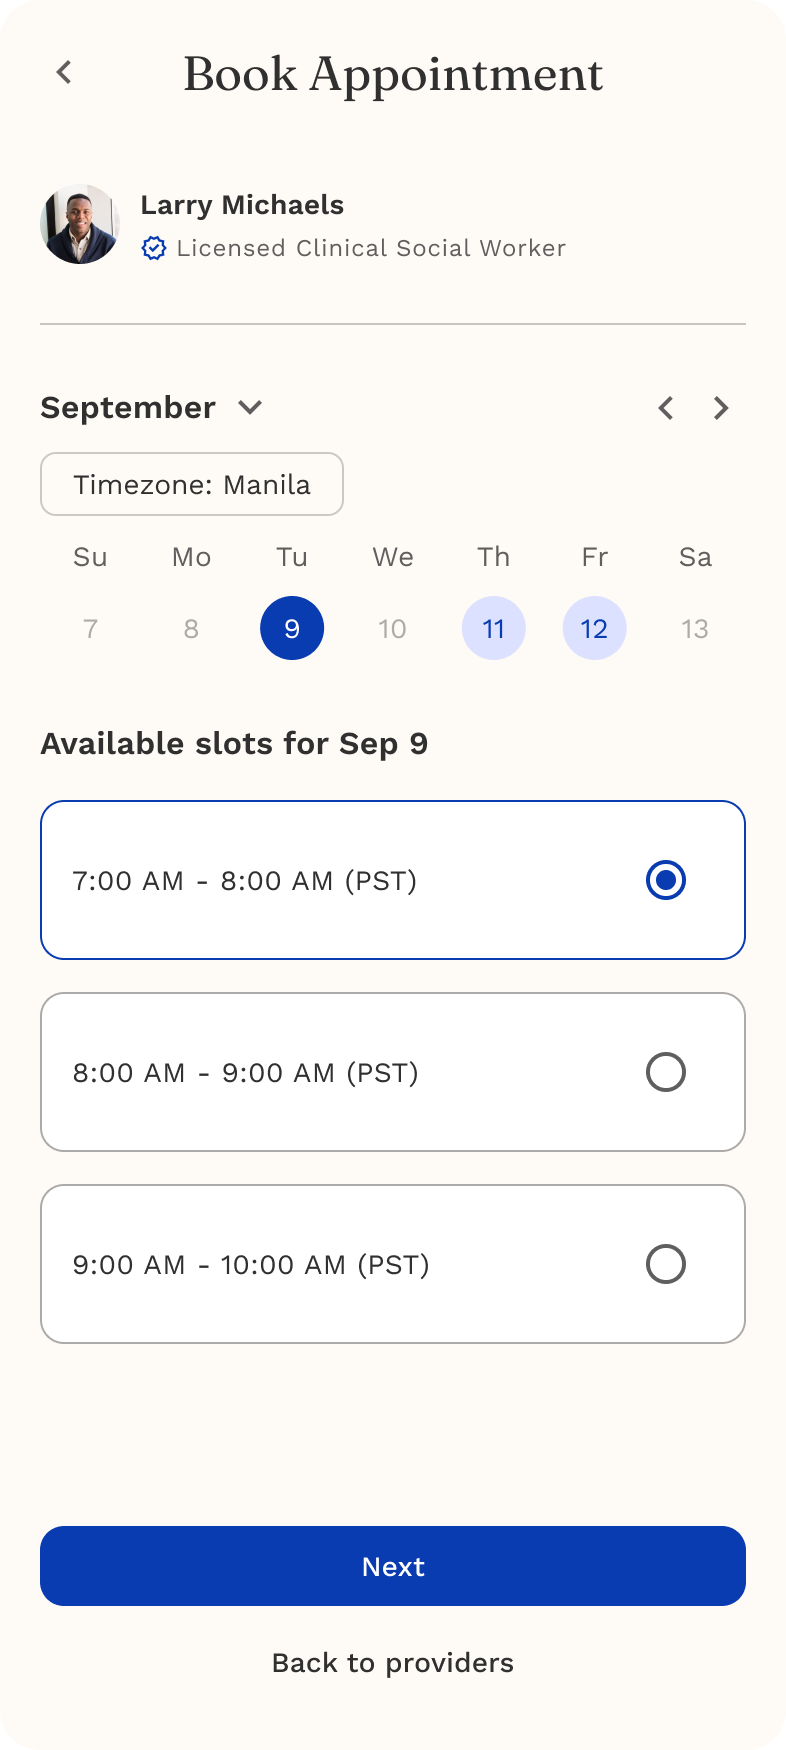
Step 2. Choose a Date and Time
You’ll land on the Book Appointment page.
- Use the calendar to select a date.
- Scroll through available time slots for that day.
- Tap your preferred slot — it will highlight when selected.
- Tap Next to continue.
💡 Your local time zone is shown automatically so you don’t have to convert time differences.
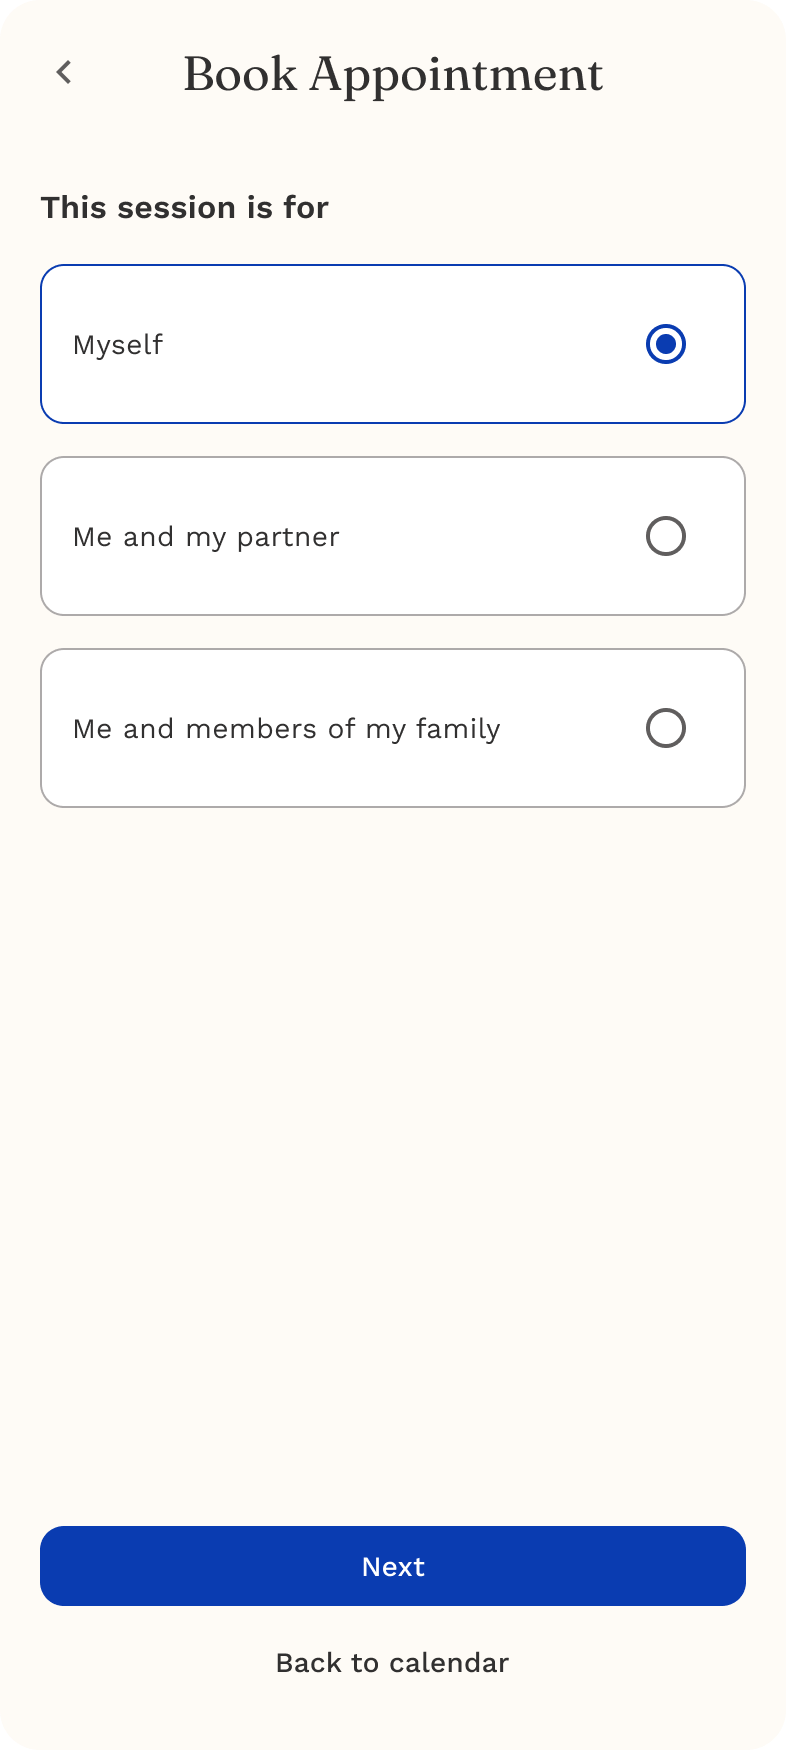
Step 3. Choose Who the Session Is For
You’ll be asked to specify who this appointment is for:
- Myself – book a session for you.
- Me and my partner – for couples therapy.
- Me and members of my family – for family or group support.
Select the option that applies to you, then tap Next.
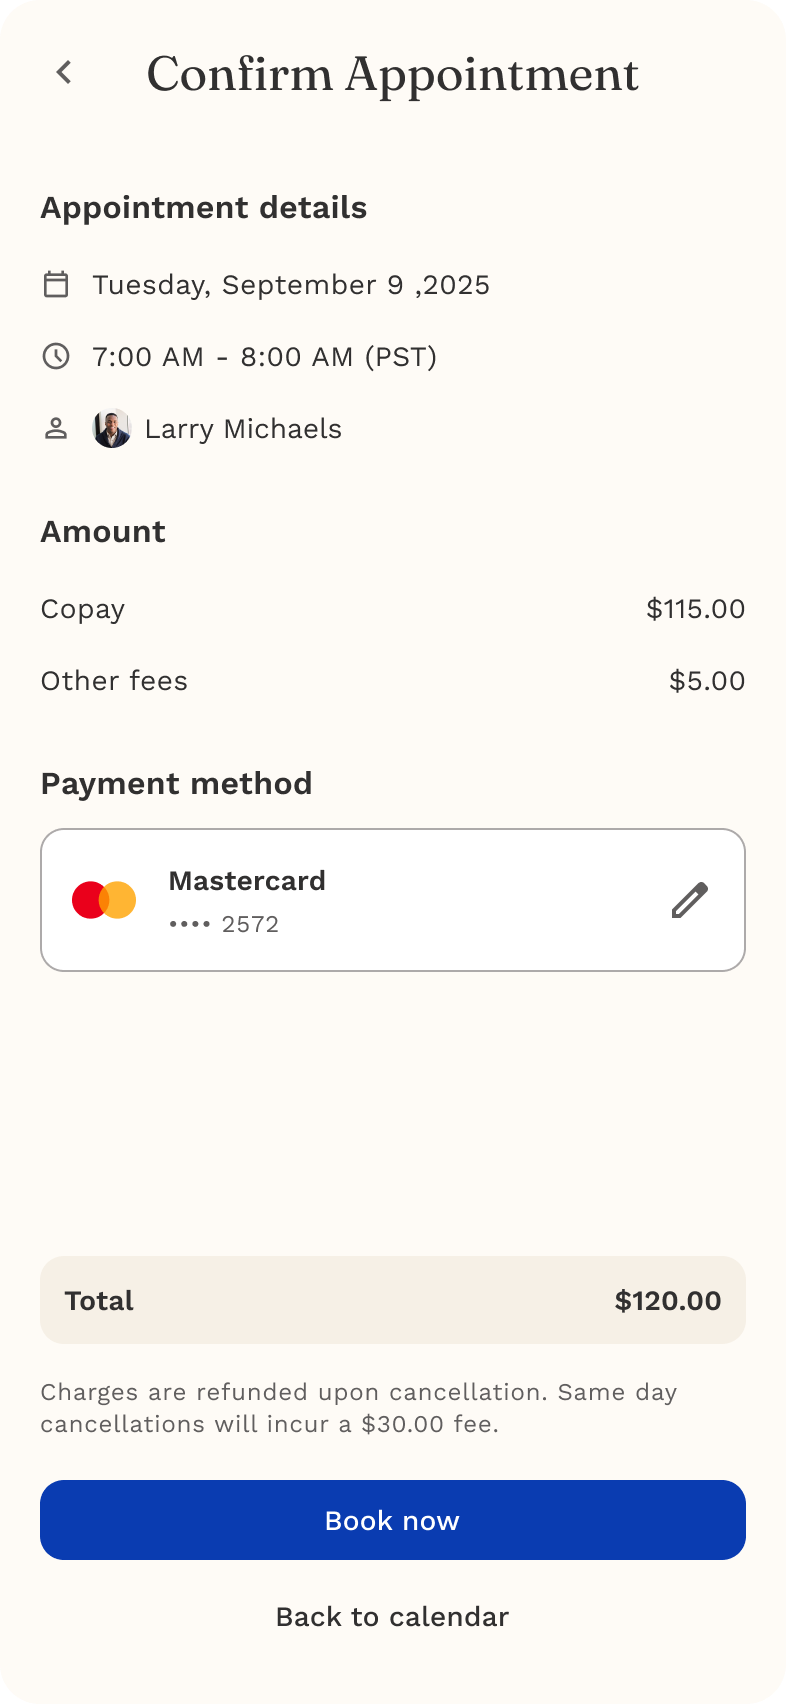
Step 4. Review and Confirm Your Appointment
On the Confirm Appointment screen, you’ll see a summary of your booking details.
Check the following:
- Date and time
- Provider name
- Appointment type (individual, couple, or family)
- Fees – you’ll see your copay and any additional fees listed clearly.
You can also confirm your payment method before finalizing.
Step 5. Select or Add a Payment Method
You’ll see your saved payment methods (e.g., Mastercard, Visa) on screen.
To use an existing card:
- Tap the card you want to use.
- Press Confirm.
To add a new card:
- Tap Add new card.
- Enter your card number, expiration date, and CVC.
- Tap Save to store it securely.
Once payment is confirmed, tap Book Now to complete your booking.

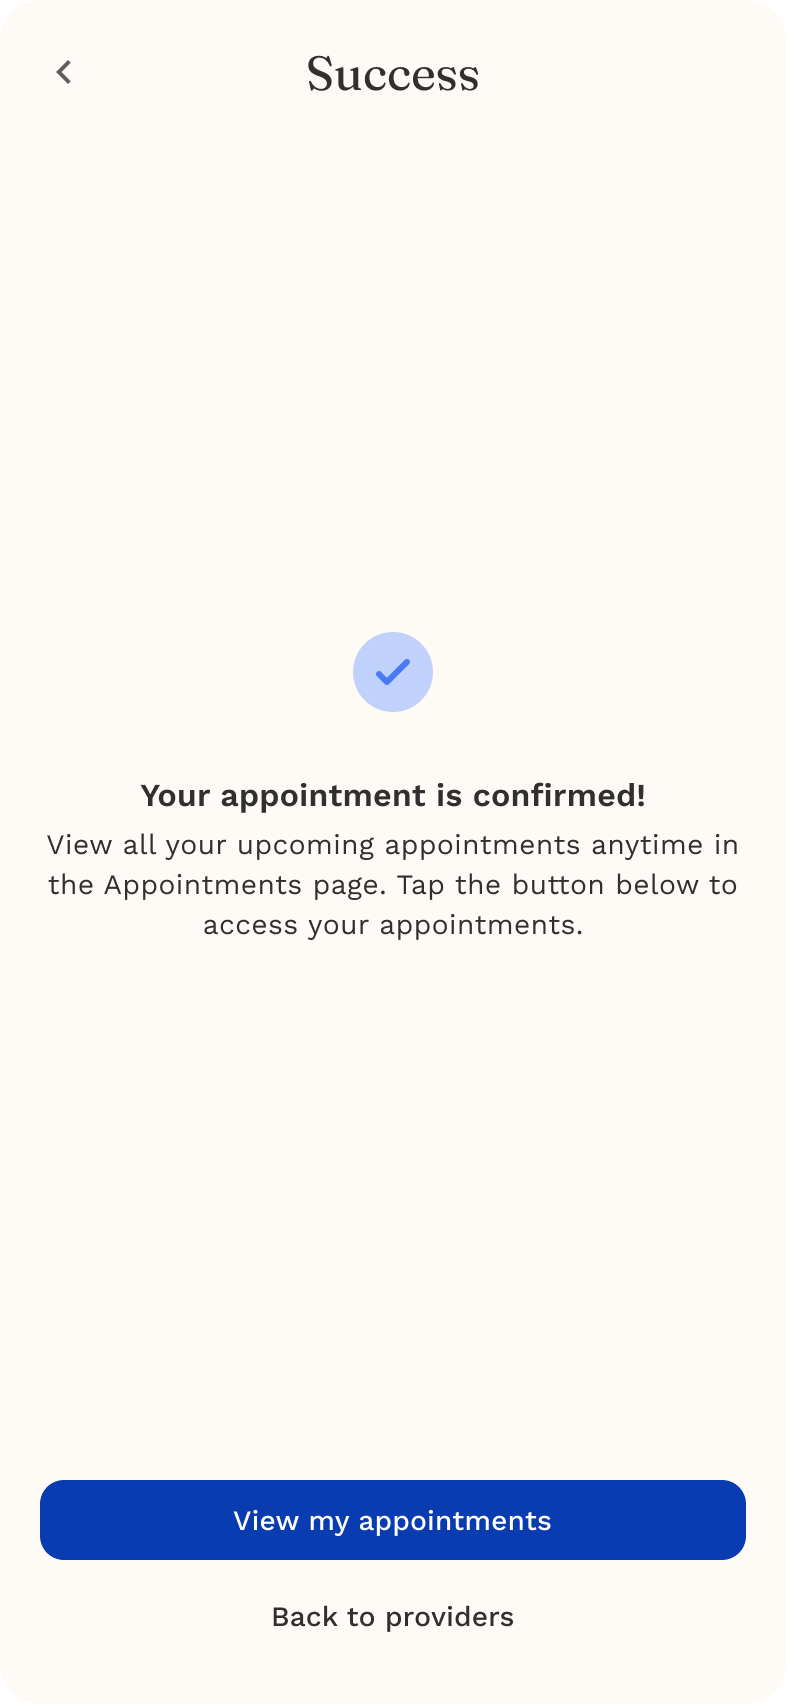
Step 6. Appointment Confirmation
When your booking is successful, you’ll see a confirmation screen that says:
✅ Your appointment is confirmed!
From here, you can:
- Tap View my appointments to see your scheduled sessions.
- Or tap Back to providers if you’d like to book another one.
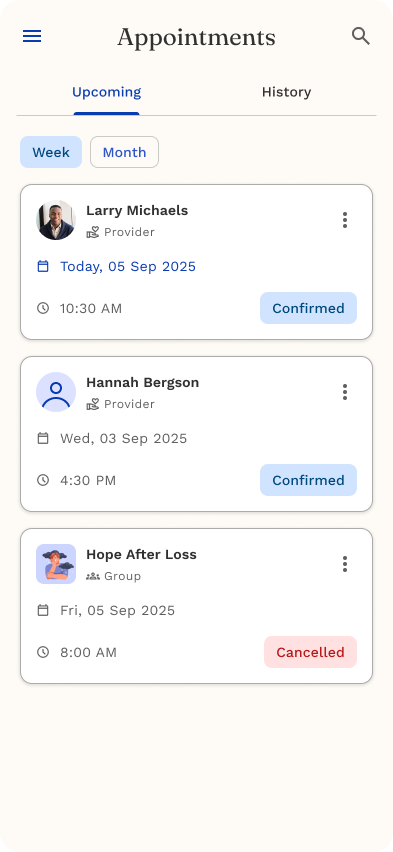
Your session will now appear in the Appointments tab with a status of Confirmed or Pending.
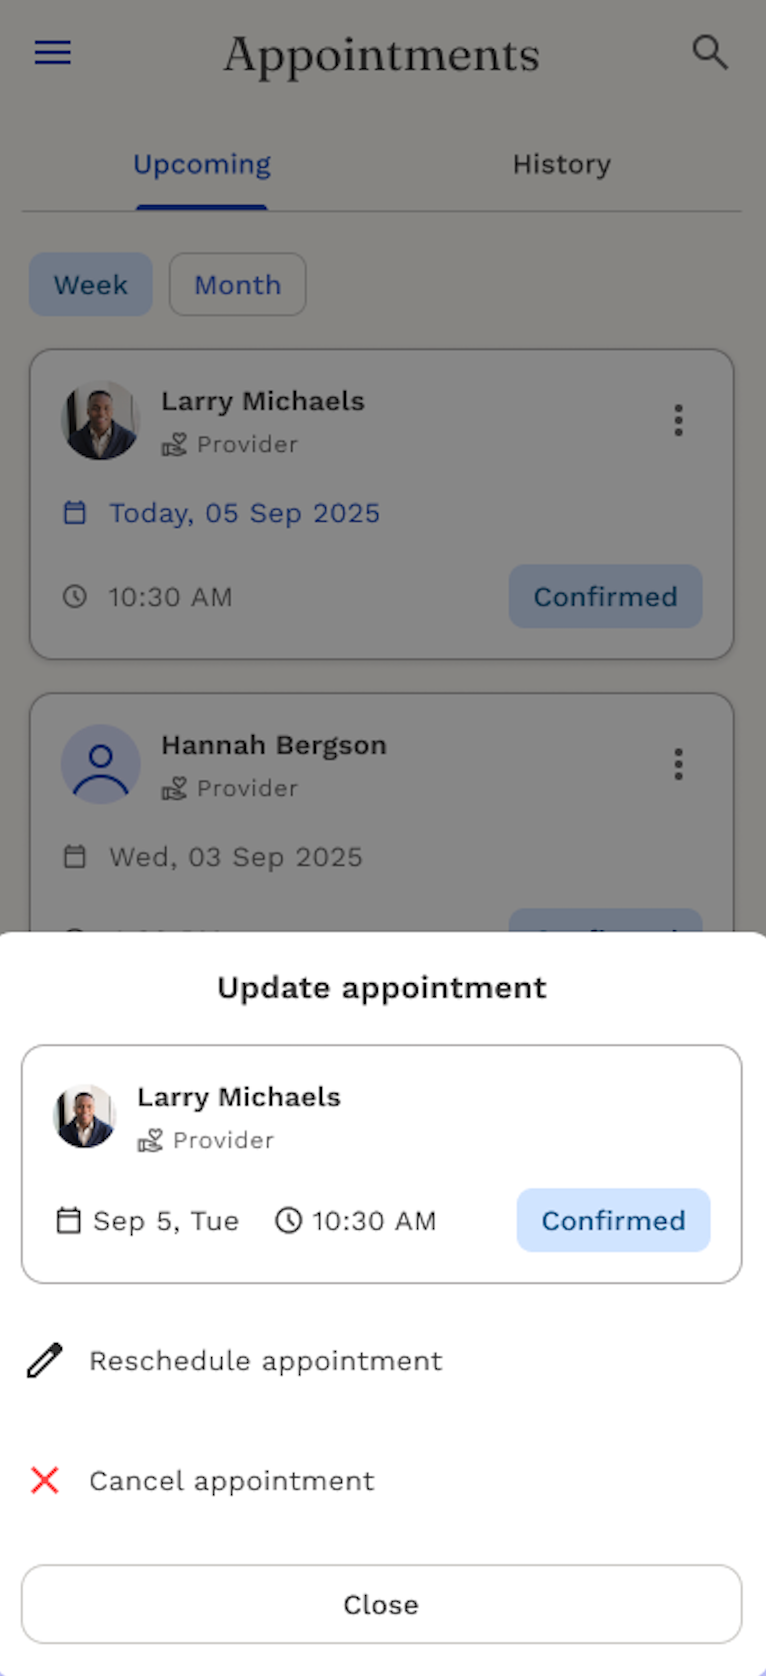
Step 7. Review, Edit, or Cancel
You can manage your sessions anytime in the Appointments section:
- View full details and session link.
- Reschedule to another available time.
- Cancel if needed (refund policy and fees are clearly shown).
Helpful Tips
☑️ Check your availability first. You’ll see more options if you have flexible time slots.
💳 Add your payment method early. It makes future bookings quicker.
🔔 Turn on notifications. You’ll get reminders before every session.
🗓️ View appointments anytime under the Appointments tab in your dashboard.